 See what I made! Shall I tell you how it happened?
Well. There’s a blank wall in our living room that’s been annoying me for months now ↓↓↓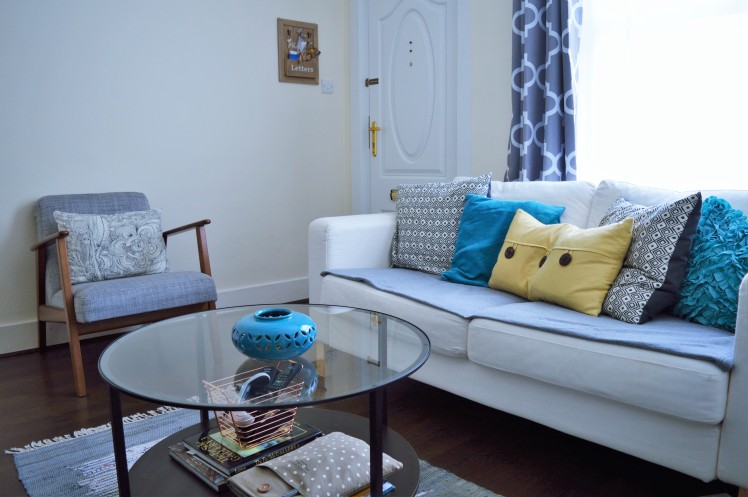 See it? Over there behind the lonely chair? Even though our lounge is teeny tiny, I feel like that wall is off by itself, and not tied into the rest of the room.
Eventually I’d like to give that chair a side table/lamp combo to keep it company. Like maybe these.


Sources: IKAYAA Natural Pine Wood Table // Marble Base Table Lamp
*except that table is way too big in real life
But that still leaves a solid brick wall that I’m not allowed to paint (apparently) and can’t hang anything heavy on without a masonry drill. I still had tons of fabric leftover from our wedding arch thingy, and dye from the pillows I made for the One Room Challenge. After a few wanders around the internet, I devised a plan to dye something to hang on the wall. I didn’t exactly find a full tutorial, but I figured I could adapt techniques like the ones used here to accomplish what I wanted.
First I sketched out a pattern on a piece of paper. Drawing it on paper also helped me wrap my head around how to fold the fabric.


Then I cut out triangle templates so I could decide how to space out the pattern.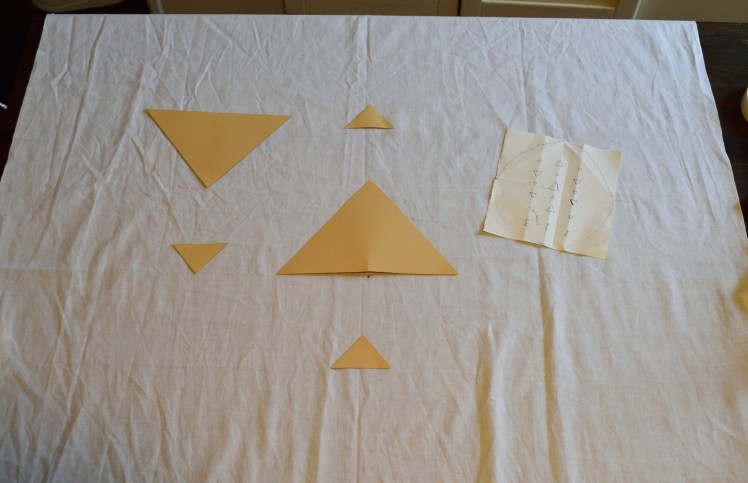 I folded the fabric in half so that I could trace around the triangles like so.
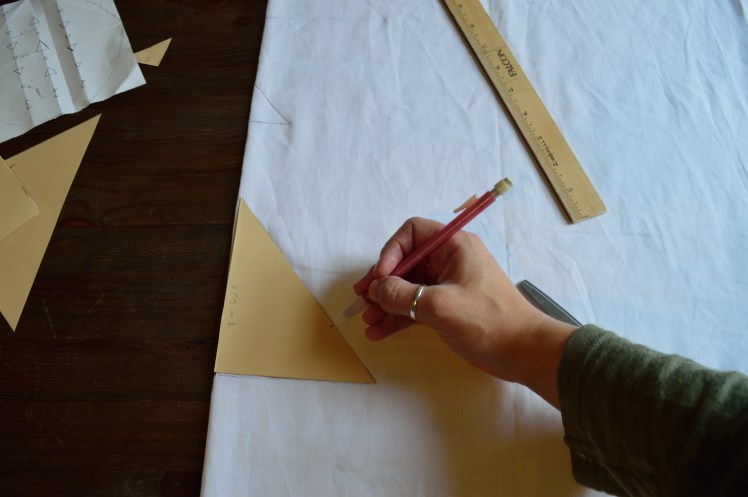 Then I stitched alone the outlines I had drawn, leaving a thread tail of about 6 inches at either end.
 I made two more folds to add rows of triangles on either side of the middle row to complete the patter.
 Then gathered the fabric and wrapped the excess thread around the triangle part.


But I didn’t stop there. Oh no no no no. I wrapped each nub in protective cellophane and secured it with rubber bands.


I didn’t want my nubs to be submerged in the dye, so I used large clips tied together to keep all my hard work stitching, tying, and wrapping from disappearing into the dark blue void.

Several hours later…
Once the water ran clear I freed the nubs and took all the rubber bands/cellophane/threads off. Then I put it in the washing machine -mostly to get rid of the wrinkles.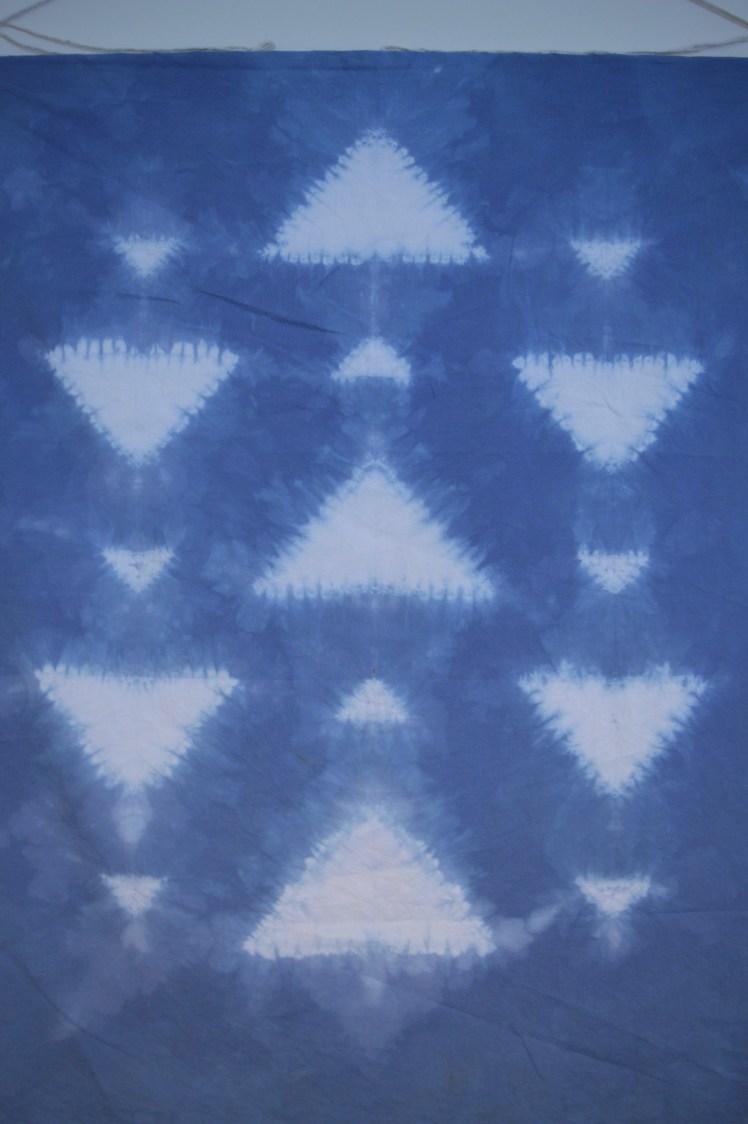
There are obvious variations, but I expected as much. The only thing I was a little bummed about was that it came out more faded than I would have liked. I used a mixture of left over navy blue and grey dye, and I expected it to come out a darker hue.


One thought on “Dyed Tapestry”