
Moving meant saying goodbye to a lot of things –including our furniture. I really wasn’t sad to see it go at the time, but living in an unfurnished cottage for a few days definitely made me miss our homey apartment in San Diego.
As it turns out, buying all new furniture is expensive, so we’ve made best friends with Ikea. Two days before we moved into the cottage, we went to Ikea and bought ALL the things! The Ikea elves delivered it three days later, and it was just like Christmas! …until we realized there are no dumpsters here for us to put boxes in.
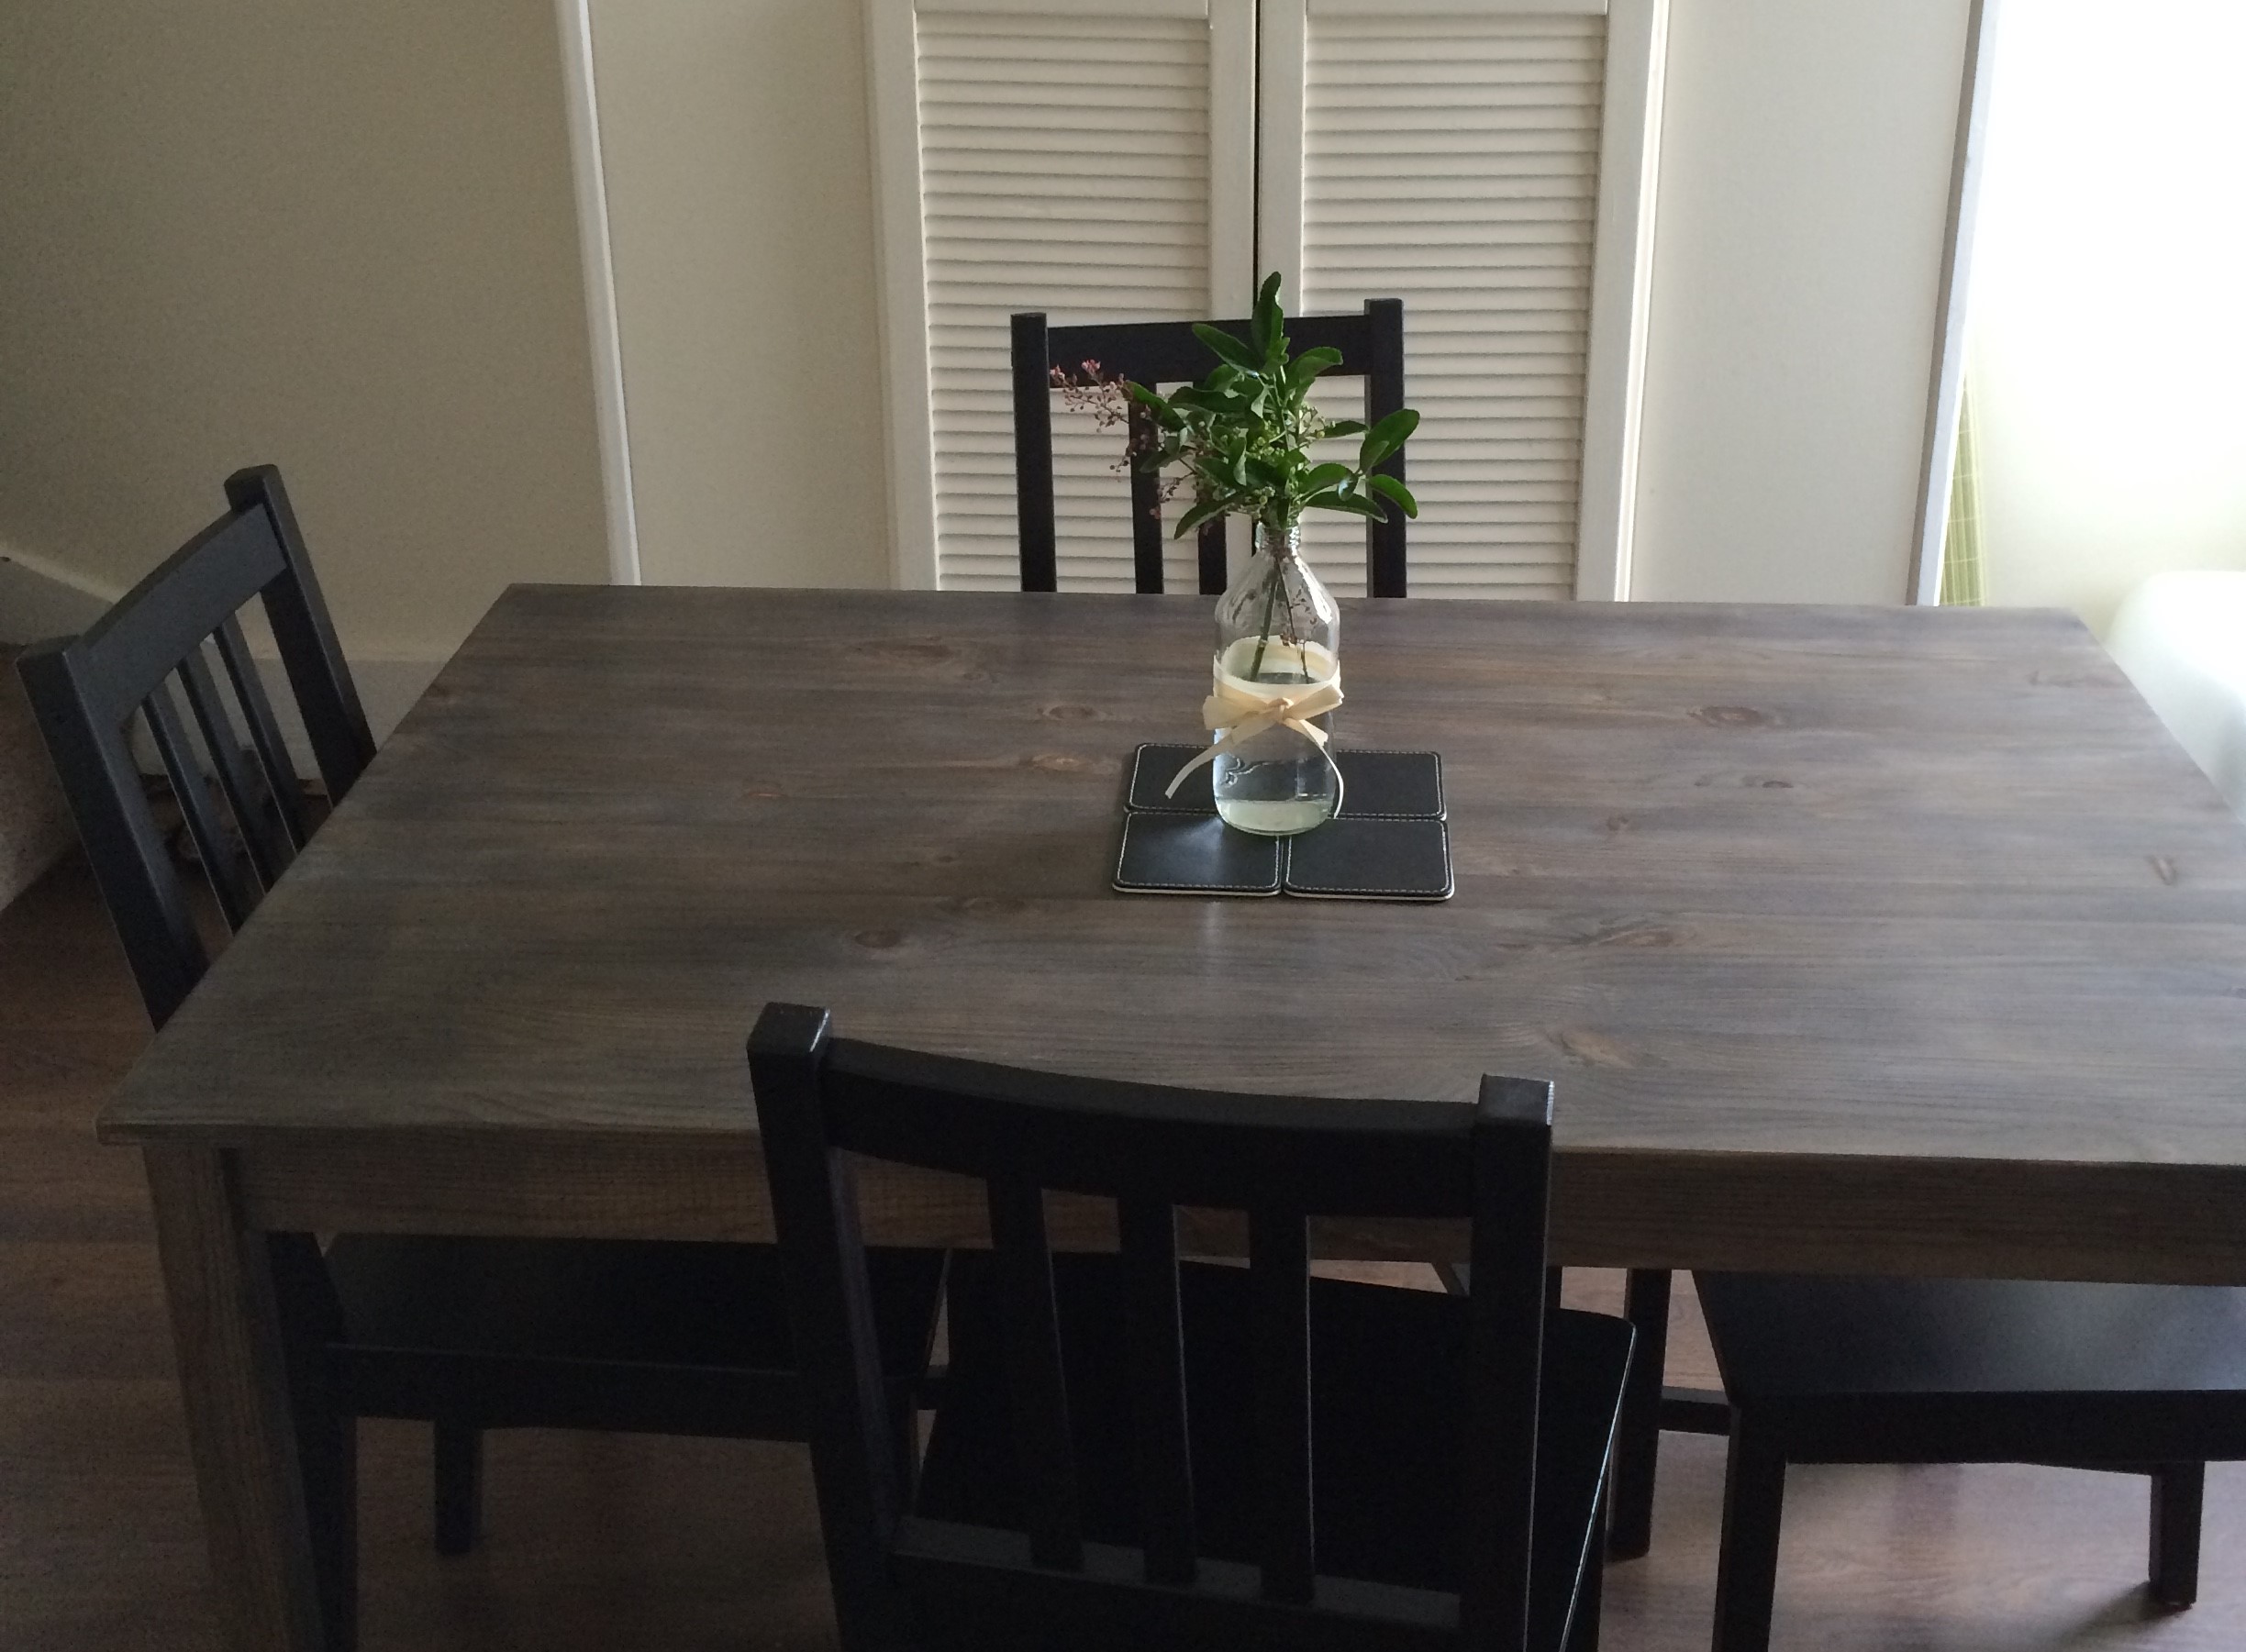
I wanted to buy pieces that could easily be refinished and made to look more one-of-a-kind. By one-of-a-kind, I mean like one of these rustic beauties ↓↓↓

I decided to go with the NORNÄS coffee table and INGO dining table, both made of unfinished pine. They really are the perfect blank canvas, and reallly cheap too!

I wanted to give the natural pine an aged-gray look, so I oxidized them with steel wool and vinegar.
There are many tutorials out there on how to oxidize/ebonize wood, but I found this tutorial from The Friendly Home to be the most helpful.
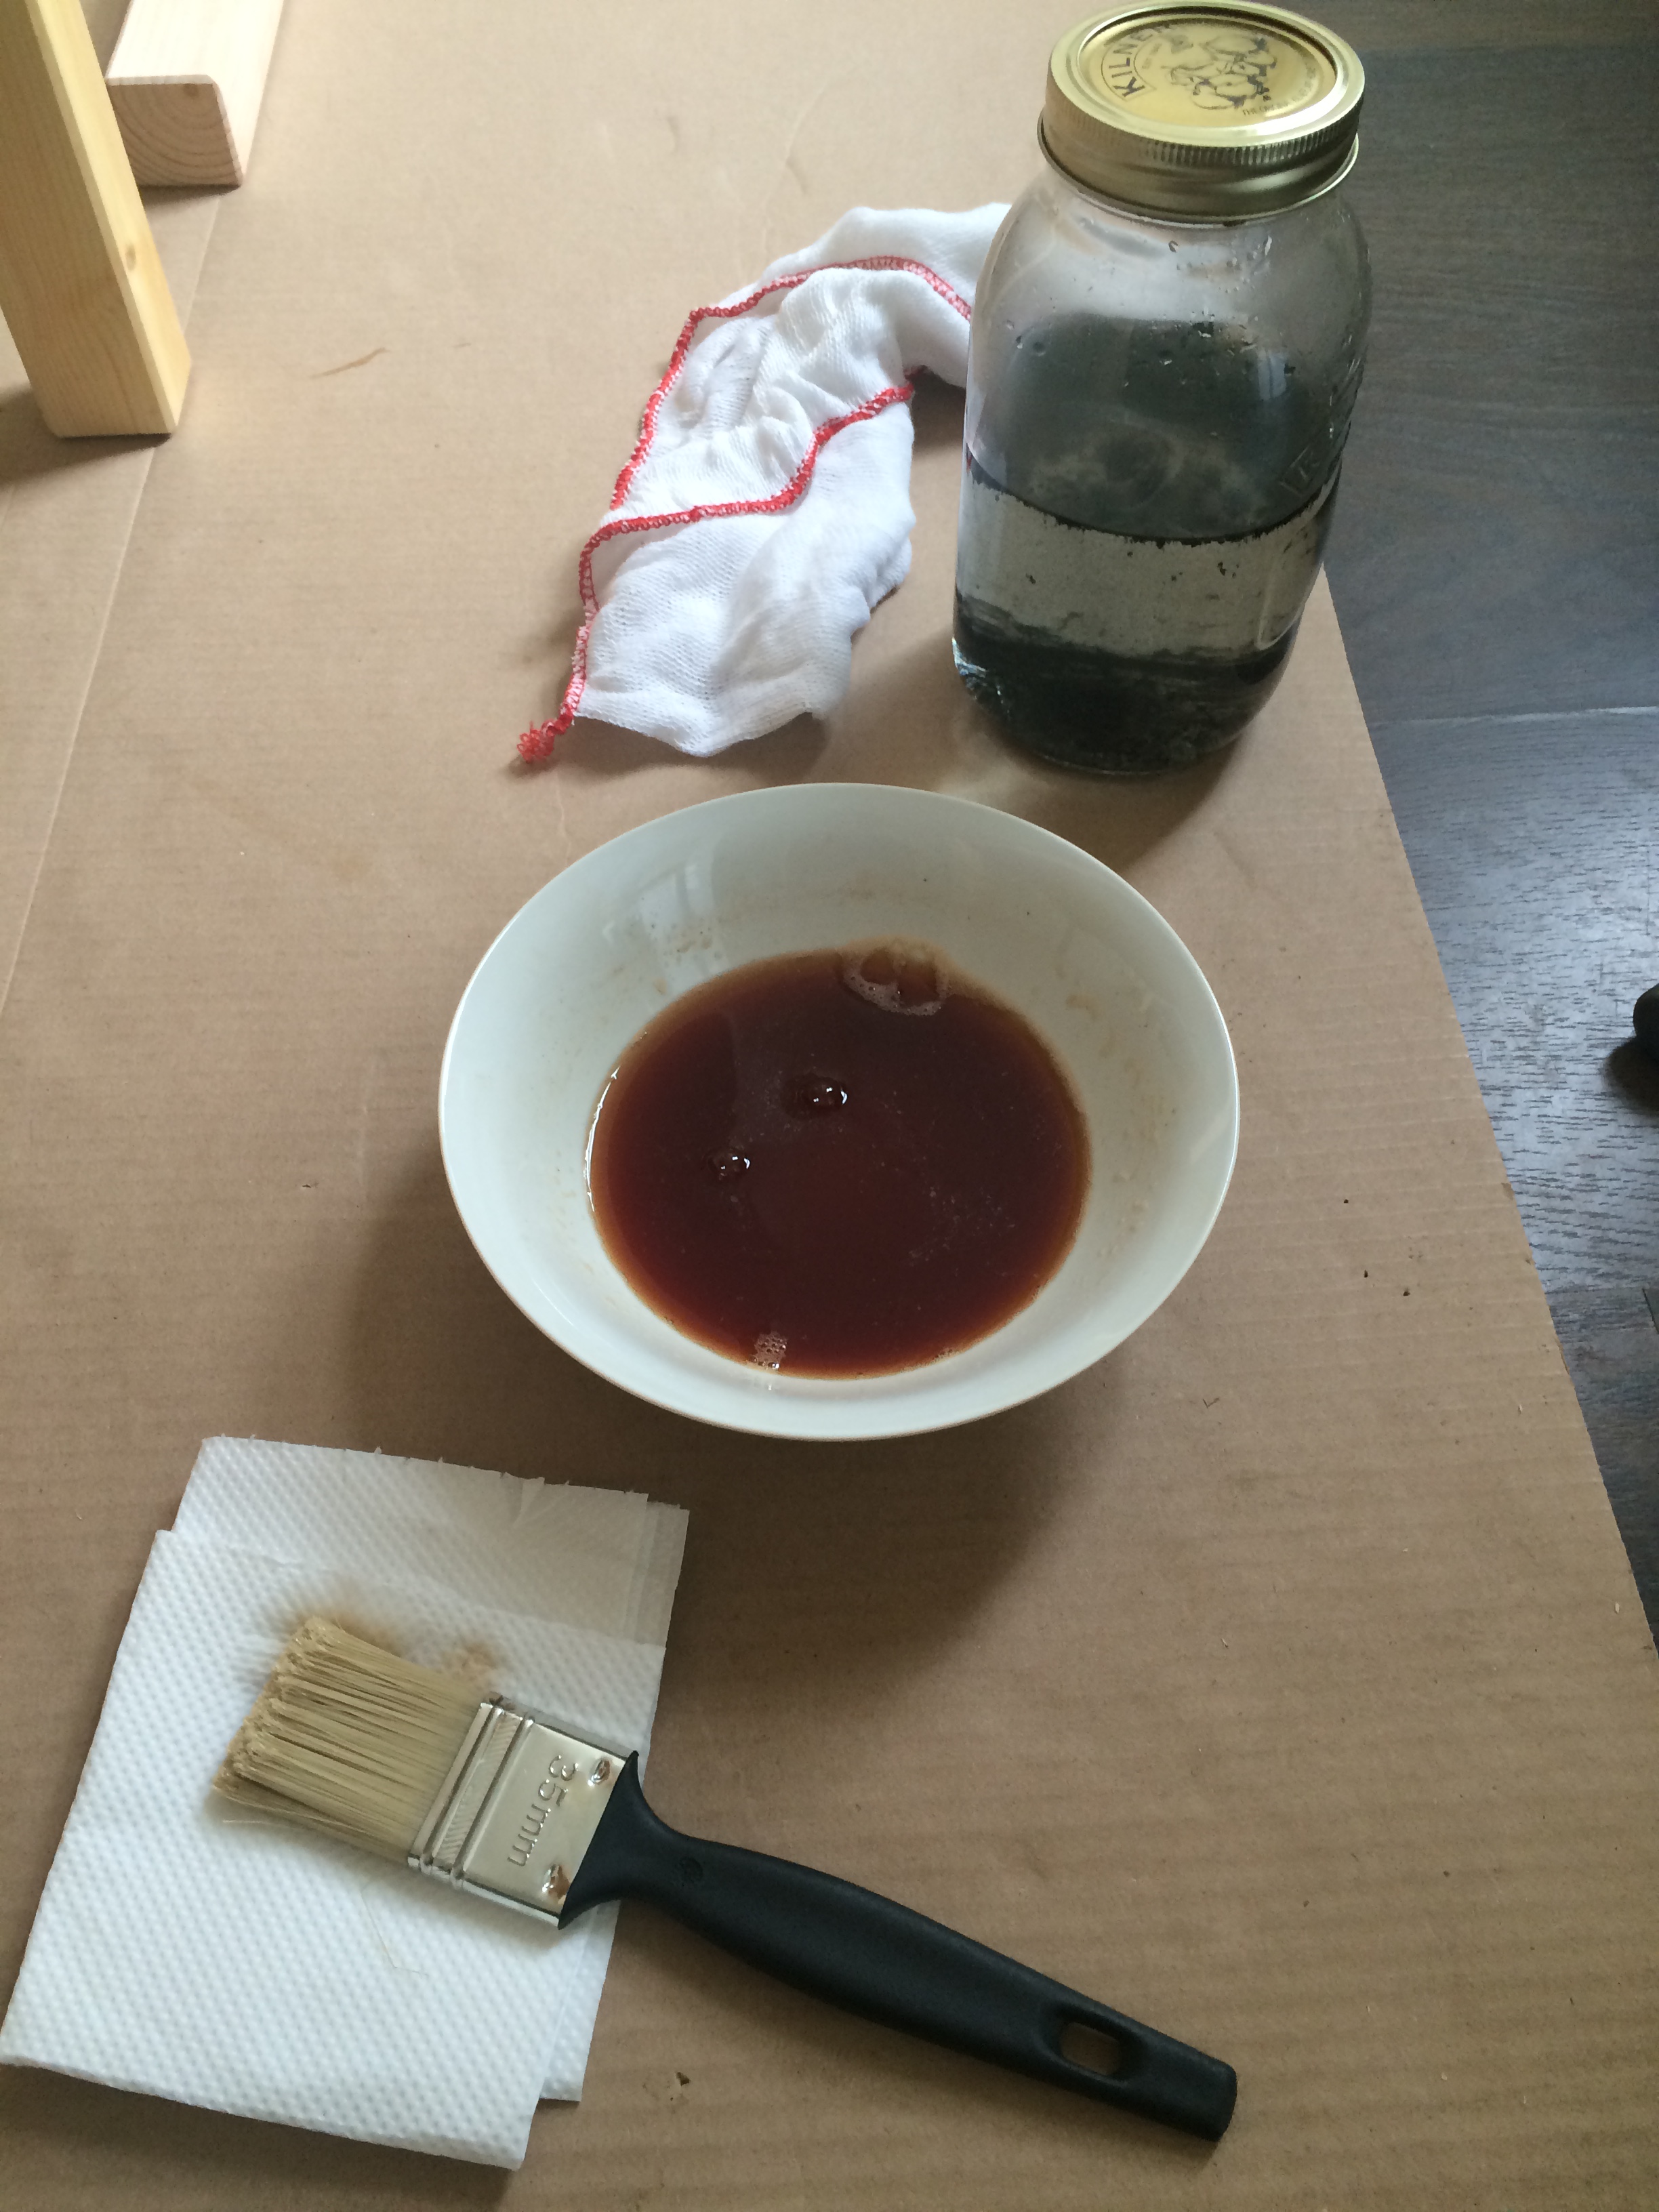
First, you make up an oxidizing solution of vinegar and steel wool, and let it ferment for a few days. Most people use white vinegar, but I had a hard time finding it here in the UK, so I used white malt vinegar. As far as I can tell, the end result is the same, but the malt vinegar might take longer to break down the steel wool. I let my jar of oxidizing solution sit for 4 days before I lost my patience and decided to go for it.
The next step is to brew STRONG black tea. The tea must be painted on the wood before the oxidizing solution to ensure the wood you are working with has a high levels of tannins. The oxidizing solution reacts to the tannins to create a weathered look. Since pine has low levels of tannins, I painted on two coats of tea.
The most annoying part of the whole process was waiting for each coat of tea to dry. It was well worth the wait though.

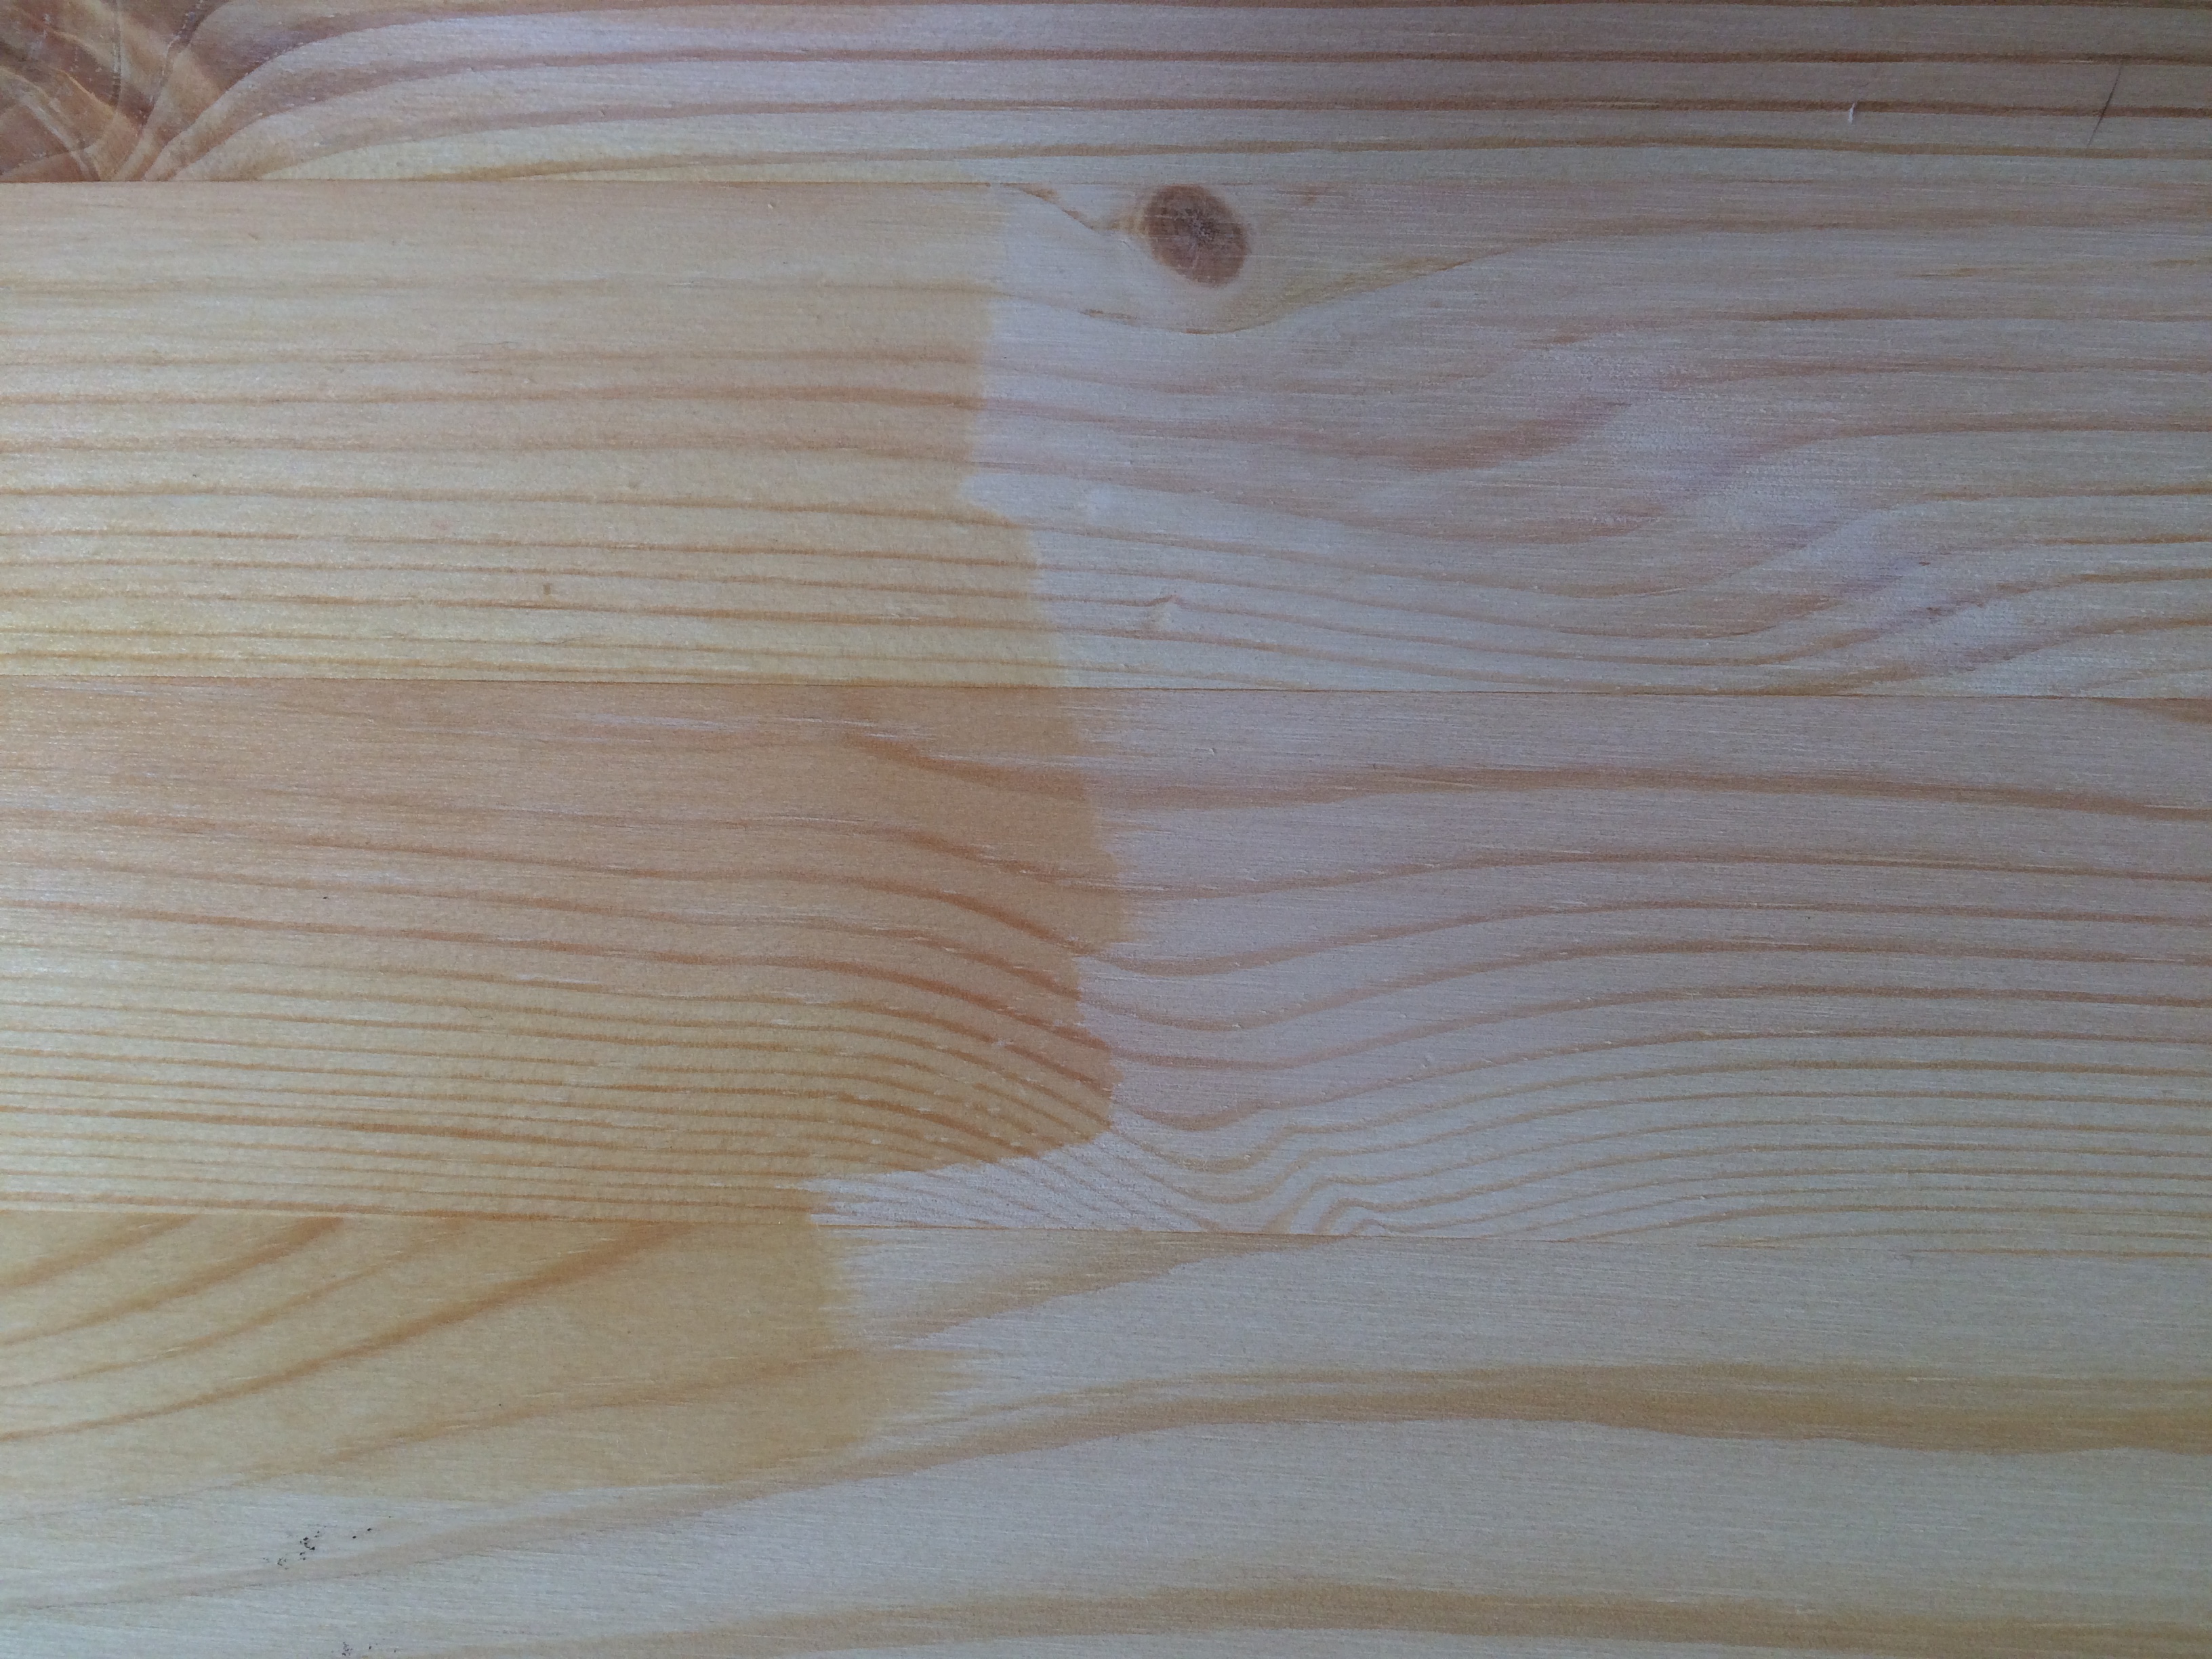
Here goes the first coat of oxidizing solution. I was surprised by how fast it reacted with the tannins in the tea. The solution went on clear with a grayish tint, and immediately turned dark. It continued to darken as it dried.

All done oxidizing the coffee table! You can see the patch on the right is still drying and isn’t as dark as the side I painted first.
For me, the scariest part of the whole business was sealing the tables. I used clear Briwax, and gave each table three coats. I painted it on with an old paintbrush. It was like painting with vaseline except it actually dried. We’ll see how well the wax holds up over time.
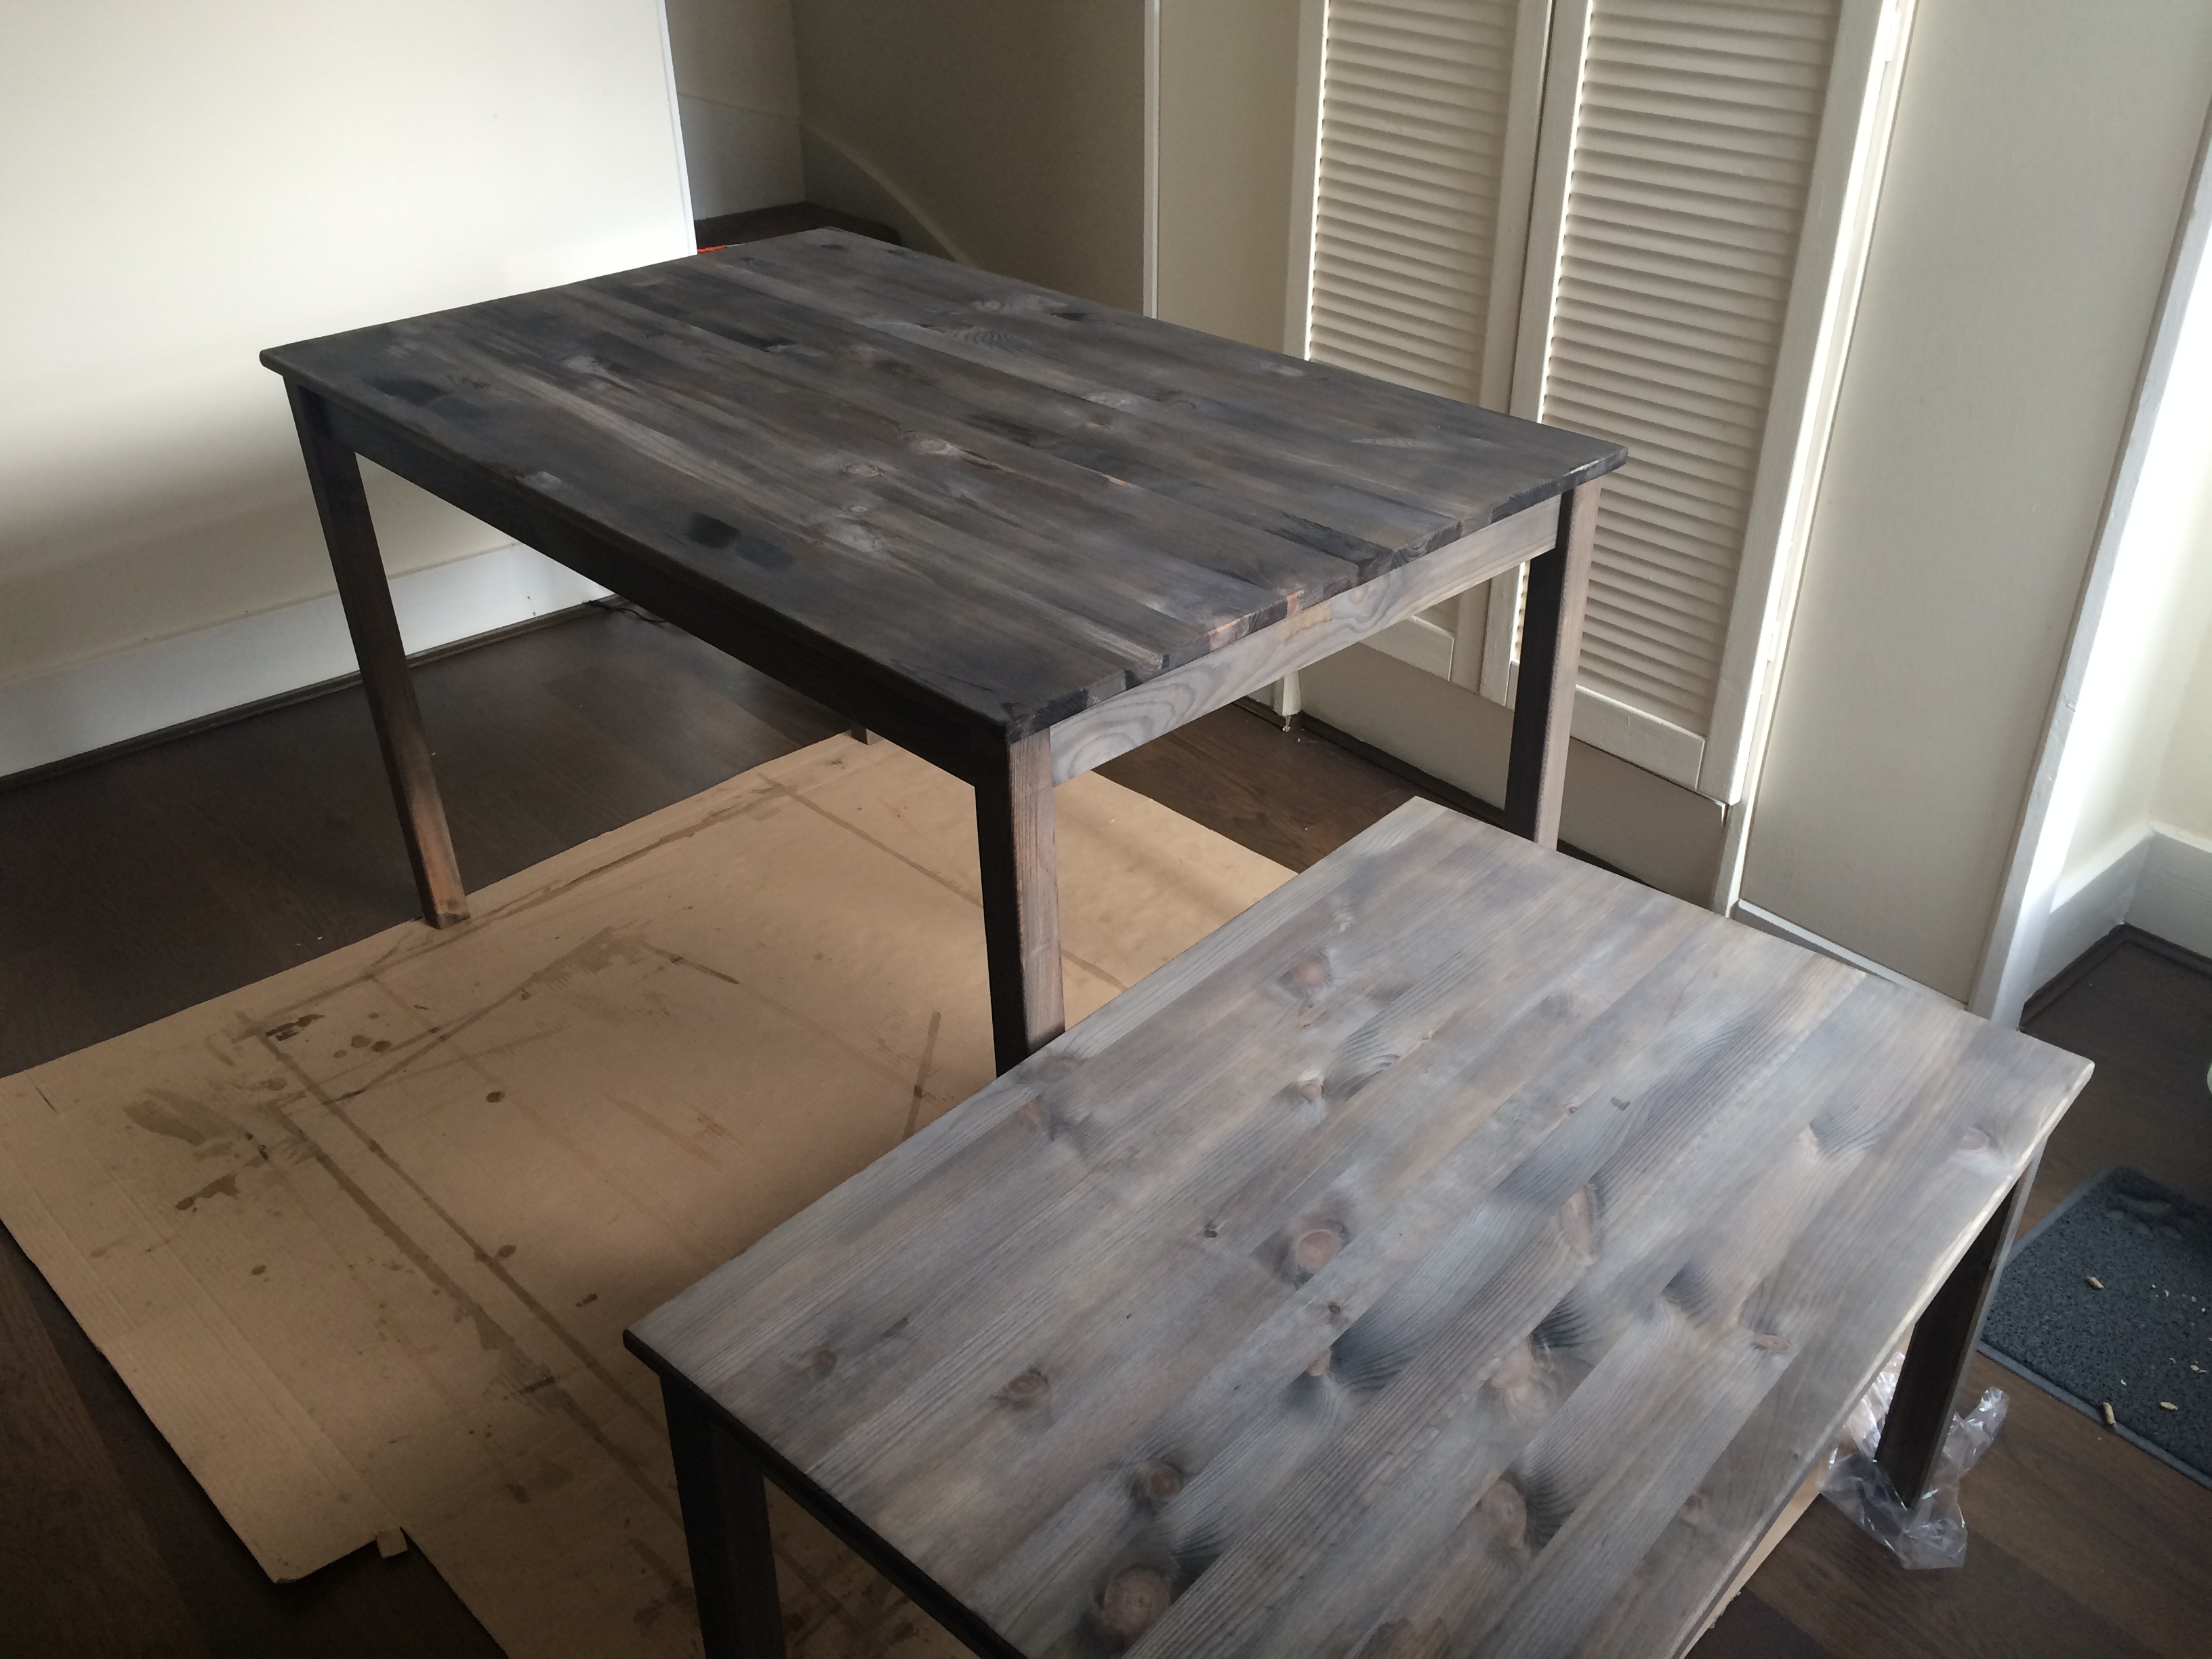
I buffed between coats with a dry paper towel, and in the end I was happy with the way they turned out.
Supply List:
1. Briwax Wax Polish
2. Ultra Fine Steel Wire Wool
3. Paint Brush
4. Black Tea
5. Vinegar


I really like this color. It’s super beautiful! This could look amazing in freshly refinished floors! I can see this technique in many things. Thank you for sharing your experience with dying and staining. Have a great day! Oh and if you are starting a garden you can lay cardboard boxes flat and add grass clippings or soil on top. The cardboard will kill weeds and grass so you can plant on top. The break down of the cardboard will feed worms! 🙂 Best, Koko
Thank you! Unfortunately the floors are laminate, and we’re renting… but I’m planning to contrast the dining table with a nice rug someday. 🙂
Rugs are a great way to personalize a space. When you find the right one, it’s going to look beautiful!
How would you make this a darker color? Or more brown?
I haven’t played around with this too much, but you could try using a dark wax instead of clear after staining the wood.
Hello,
I am getting ready to do this to my exact same ikea table and wanted to know how much of the steel wool you used and how much vinegar.
Also, if there was any issues that you had and how the table is holding up now.
Thank you!
Hi! I only bought one packet of steel wool, and didn’t use all of it. I think I used 75% of what I bought. I used about 3 cups of vinegar, but it wasn’t an exact recipe.
The stain has held up great, but the wax reacts to heat, so I’ve re-coated it a few times. I think wax has a great look, but maybe not the best for a dining table. In hind sight, I’d probably go for a clear poly seal instead of wax. Good luck!